Experience the Royal Treatment Today
Licensed & Insured. NYC Lic. #2030146

Install A New Roof Fast & Effectively, Guaranteed: DIY Master

admin  |  April 2, 2019  |   |  No Comments

A building’s roof is an integral part of the building itself. It provides protection from various elements, provides insulation and adds to the building aesthetics.

There are various types of roofs, but they can be considered a subset of the two major categories: The Flat roof and sloped roof. Examples of roof types include Gable, Hip, Gambrel, Shed and Flat roofs (flat roofs are pitched at an angle to allow water to run off).

The roof is a combination of multiple functional units; you need to know the basic parts of a roof before trying to building one. The following should give you clear details on each part of a roof.

  1. Roof Truss: This provides support and the shape of the roof, can be considered as the skeleton. You can build one, or get a prefabricated one. A prefabricated truss is the easiest way to go about building a roof yourself. It can be made of different materials such as wood or steel depending on the structural requirements.
  2. Wall plate: This is laid horizontally on the wall and usually timber; it supports the framing and ensures uniform weight distribution.
  3. Sheathing: A layer of material that’s placed on the trusses and provide a surface for the roofing material.
  4. Underlayment: A layer of protective material put on the sheathing.
  5. Roof Covering: This can be made of different material, it goes on top of the previous layers, and it’s the final layer, protecting the roof.

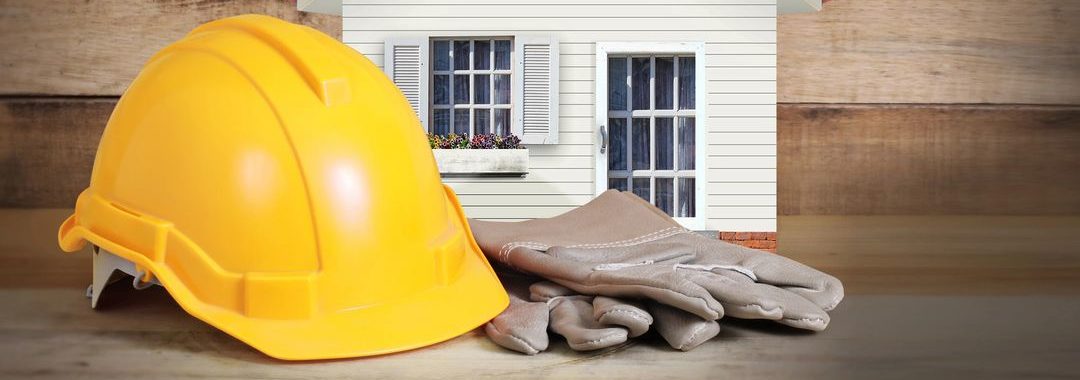
Before embarking on building your roof like a king, prioritize your safety and of those around you. Safety equipment should be used. Building a roof according to this DIY requires basic carpentry tools and skillset. To ensure the successful building of your roof, and to prevent unnecessary stress, the materials and tools listed below should be gotten beforehand. Also, you need to be mentally prepared for the task.

 Materials needed:

  • Prefabricated trusses.
  • Roofing nails.
  • Roof covering (this is made of different materials such as asphalt shingles, wood shakes and shingles, clay and concrete tiles)
  • Sheathing.
  • Self-adhesive waterproof underlayment.
  • Drip edge.
  • Staples

Tools required:

  • Ladder.
  • Stapler.
  • Utility knife.
  • Chalk line.
  • Circular saw.
  • Work gloves.
  • Roofing Nailer.

Once you’ve got the materials and tools listed above, and you’re mentally prepared, you can begin building your roof. Just follow the steps below:

Measure the roof:

Determine the number of materials needed to build a roof. This can be done quickly by using a roofing calculator.

Erection of frames:

Using a prefabricated roof truss is the fastest and easiest way to build a roof, you might need a crane to hoist it. Or you can build a basic frame yourself by following these steps:

  • Create a plan showing your roof shape, measurement, materials and spacing of truss.
  • Determine your roof’s pitch. Pitch is the ratio between the vertical height and horizontal length of the roof.
  • Attach wall plates along the length of the building on either sides.
  • Cross/join the wall plates with equally spaced ceiling joists.
  • Use the Pythagorean Theorem to determine the length of your rafters.

Sheathing the roof:

After the erection of frames, you install the sheathing lengthwise, working up from the bottom, starting from the corner and moving across. Moving up to the next row, start from the same end and make sure the sheathing is staggered.

Attaching a drip edge:

This will direct rainwater into the gutter, thereby protecting the bottom part of the sheathing.

Installing the underlayment:

  1. The roof underlayment’s primary purpose is waterproofing, the commonly used being roofing felt.
  2. Roll the underlayment out lengthwise across the sheathing starting from the bottom (the same place you started with the sheathing) and staple it into place.
  3. After laying the first layer, lay the next. Work your way to the top of the ridge of the roof. Make sure to overlap the layers, and lay up to the ridge.
  4. After laying the underlayment on either side, roll it out on the ridge, ensuring that it overlaps the underlayment on either side.

Installation of the roof covering:

The roof cover is installed lengthwise, in the same manner as the underlayment and sheathing. The covering should be staggered and should overlap. After installing on both sides, cover the ridge with ridge cap, overlapping on either side.

There you have successfully built a roof all by yourself. Before undergoing building a roof by yourself, ensure your plans conform to the local building codes. Also, get the proper permits before construction. Consider the safety of your neighbors and their properties, and yourself.


Royal Roofing Queens 68-38 Main St. Flushing, NY 11367 (718) 489-4009

Leave a Reply

Your email address will not be published. Required fields are marked *

© 2020 - ALL Rights Reserved - Kings Queens Roofing